Posts Tagged ‘yarn bowl’
What I Learned About 3D Printing Last Week
Introduction
I blogged my initial impressions of my new Creality 3D printer last time. This time we’ll look at some things I learned about 3D printing since, printing a slightly more complicated object, namely a yarn bowl. The yarn bowl is larger than last week’s cat and is based on a model from Thingiverse, namely this one.
First Try
So I downloaded the 3D model, which came as an STL file. This is a Standard Tessellation Language file, which is a standard way for CAD and 3D printing software to share 3D models. This isn’t a file the 3D printer can read, so you need to feed this through what is called “slicing” software to produce the GCODE file that the 3D printer understands. GCODE is a standard numerical control language used to control all sorts of automated machinery including lathes, milling machines and 3D printers. GCODE files are text files and you can open one in Notepad to have a look. To control the 3D printer the GCODE basically contains the list of all the movements for all the layers that need to be printed.
I used the slicing software that came with the printer, namely Creality’s modified version of Cura, generated the GCODE file, put the memory card in the printer and let it rip. It all got running and initially looked good. The print time was projected as 19 hours.
Unfortunately, when it got to the top of the spiral part, it started to mess up, where the filament had nothing to support it and it sprayed all over the place. I could see things weren’t working properly, but I thought I’d let it run and see how it came out anyway.
Lights Out
That night was quite windy and at midnight we had a power failure. The power came back on after a couple of minutes, but the 3D print job was interrupted. I went over to the printer and saw a prompt saying a 3D print job was interrupted and would I like to continue. This looked promising, so I hit “yes”. The printer started going, but then immediately complained that the nozzle temperature was too low and stopped. There didn’t seem to be any way to clear this error short of turning the printer off. It appears the continue function is quite literal and it doesn’t go through the normal process of heating all the elements before starting. To me this is a pretty serious bug that makes continuing useless if more than a minute has elapsed. Certainly not able to continue after a power failure.
In this case it doesn’t matter too much as the spiral pattern wasn’t working. I still got a partial bowl out of the process.
Second Try
I googled about what to do, and the answer was that in the slicing software you need to set the option to add supports to the model. So I loaded up the slicing software and it offered to upgrade it to a new version, which I accepted. Rather than upgrade to a new version of the Creality software it upgraded to the full newest version of Utilimaker Cura. I’m not sure why they don’t just bundle this in the first place, but regardless, this upgrade is well worth it and adds a lot of functionality.

Then checking the box to add support structures was easy to find. I don’t know why this isn’t turned on by default. I then sliced the model to produce the GCODE file required by the printer and let it rip. Printing the support structures takes more material and time and I could see the printer printing much more to start with.
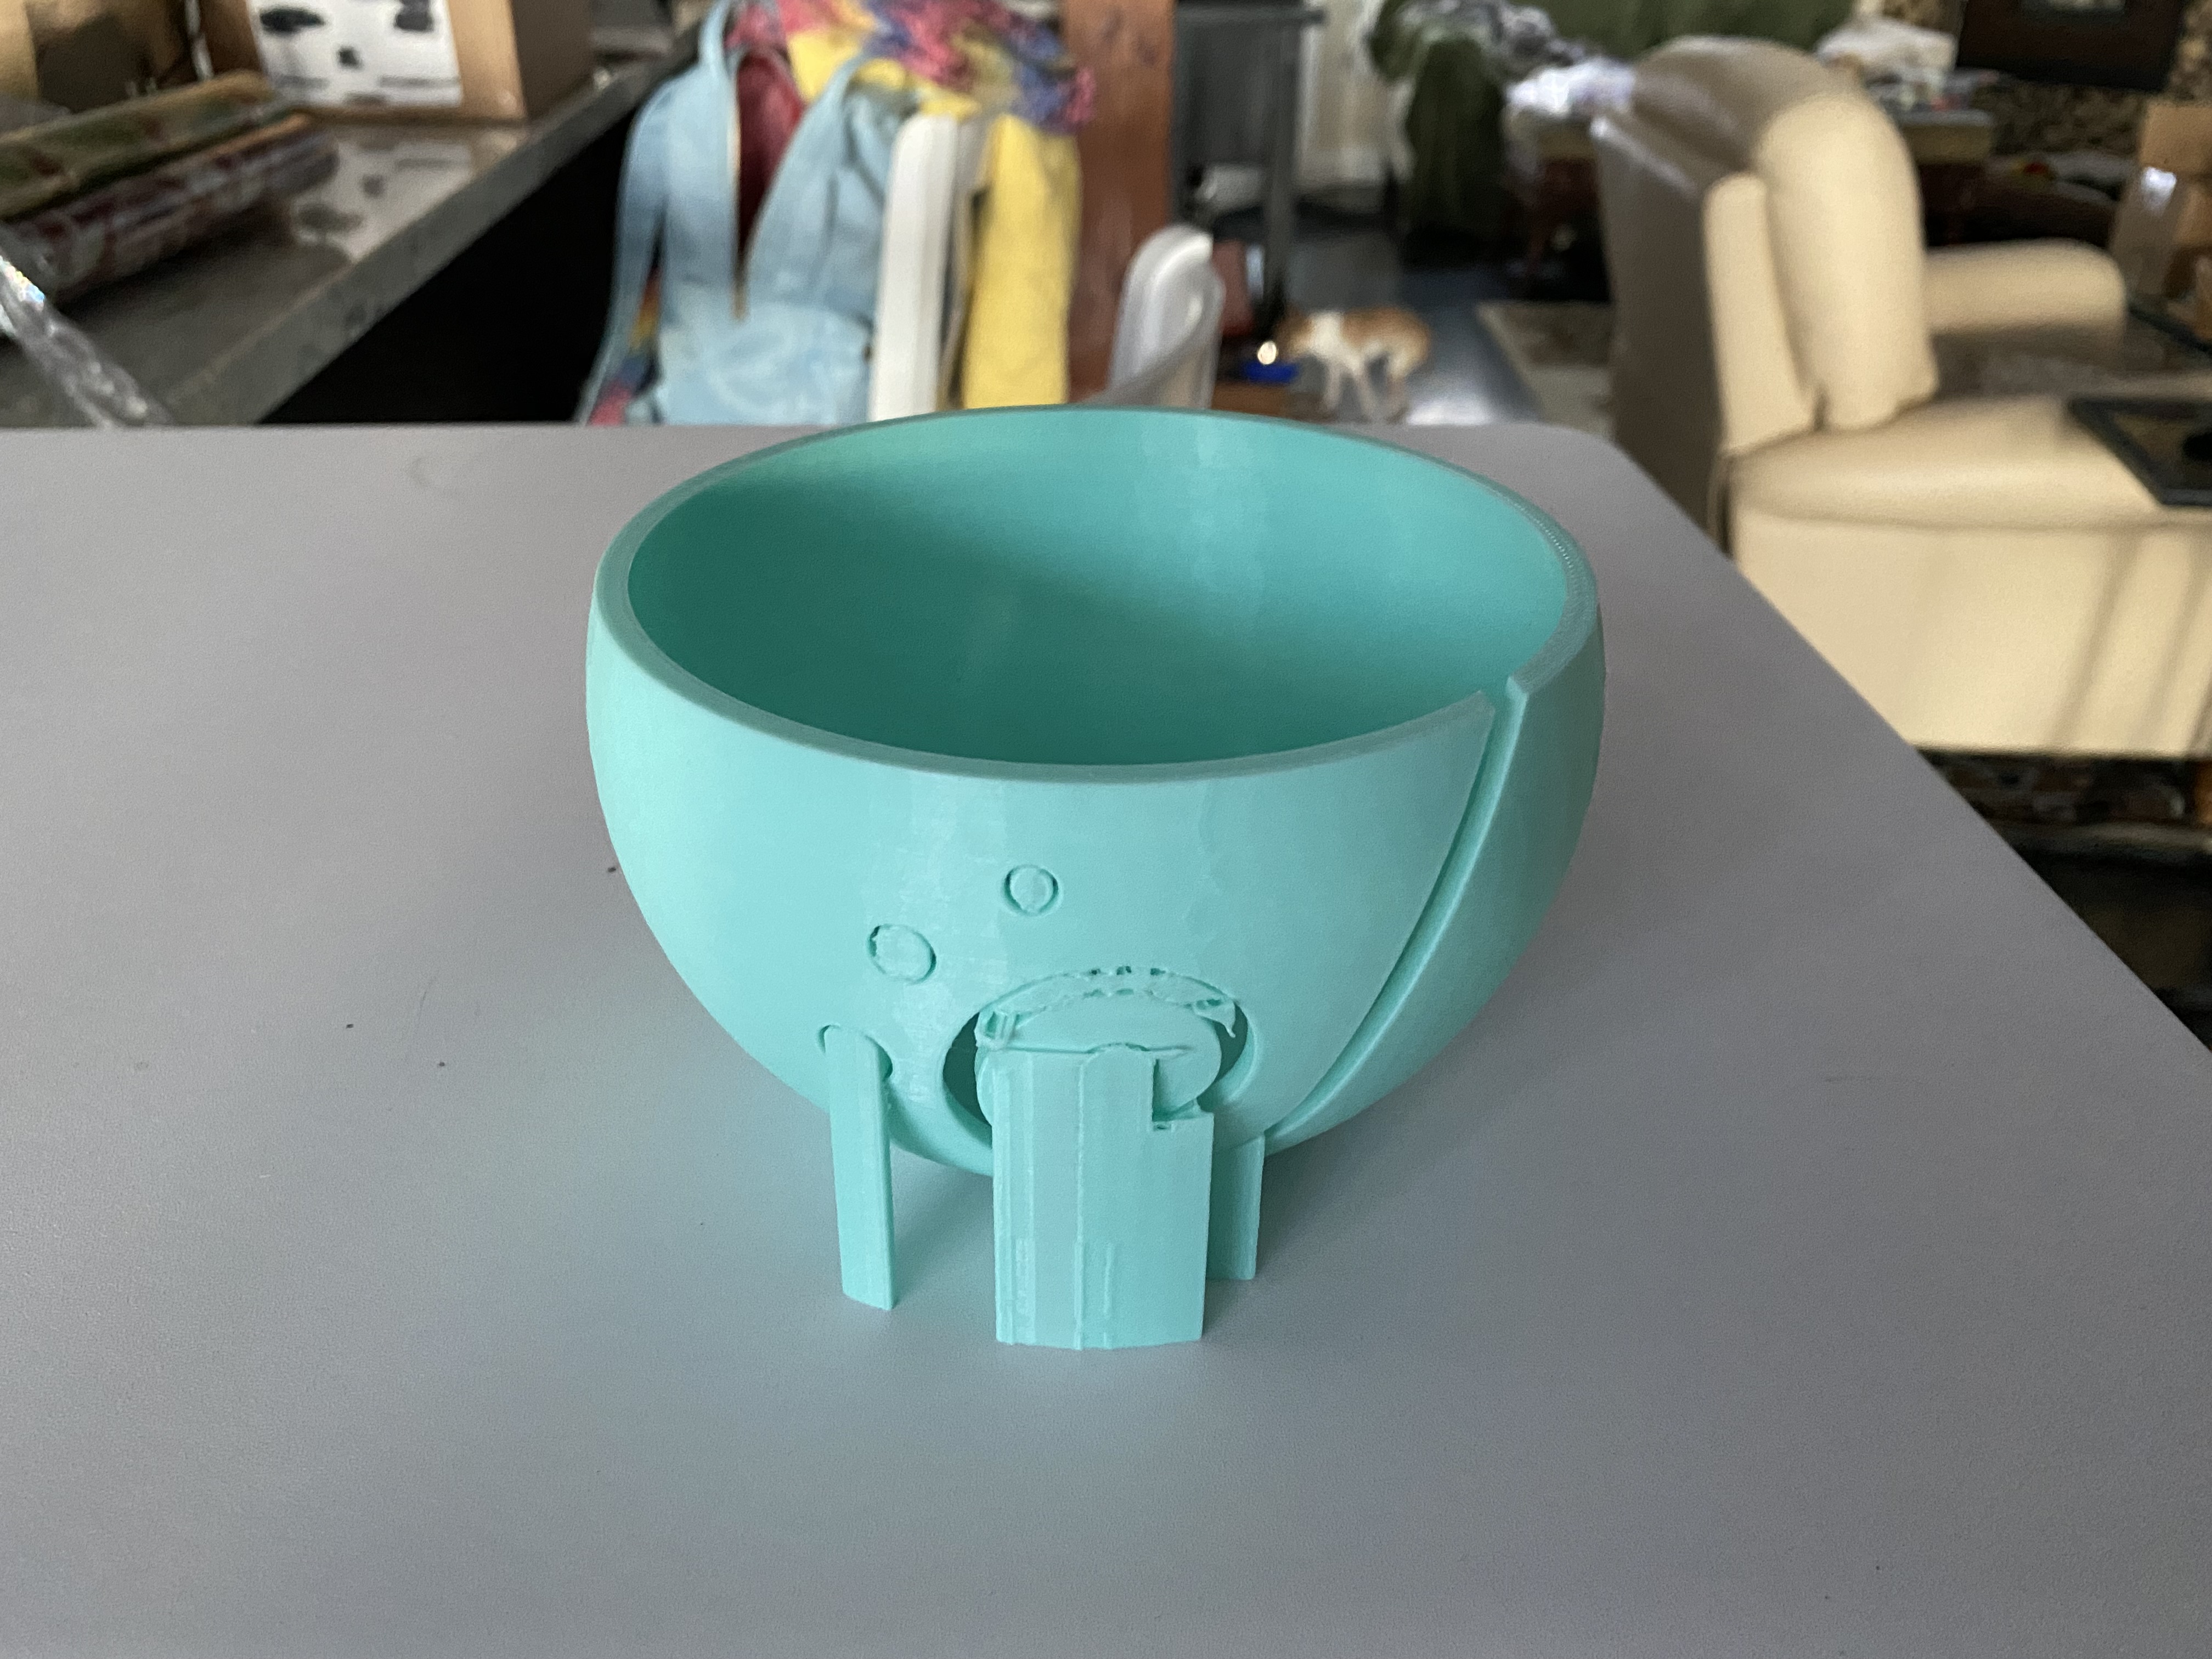
Anyway, 17 hours later, I had the bowl with all the support structures in place.
Incidentally, the cat model from last time worked, because the model was included on the printer’s memory card as a GCODE file, obviously with the support structures included.
Cleaning Up
The support structures are hollow and not as strong as the main part of the model, as a result using a combination of breaking them off, cutting them with wire cutters, or prying them out with a screwdriver, I was able to remove them all.

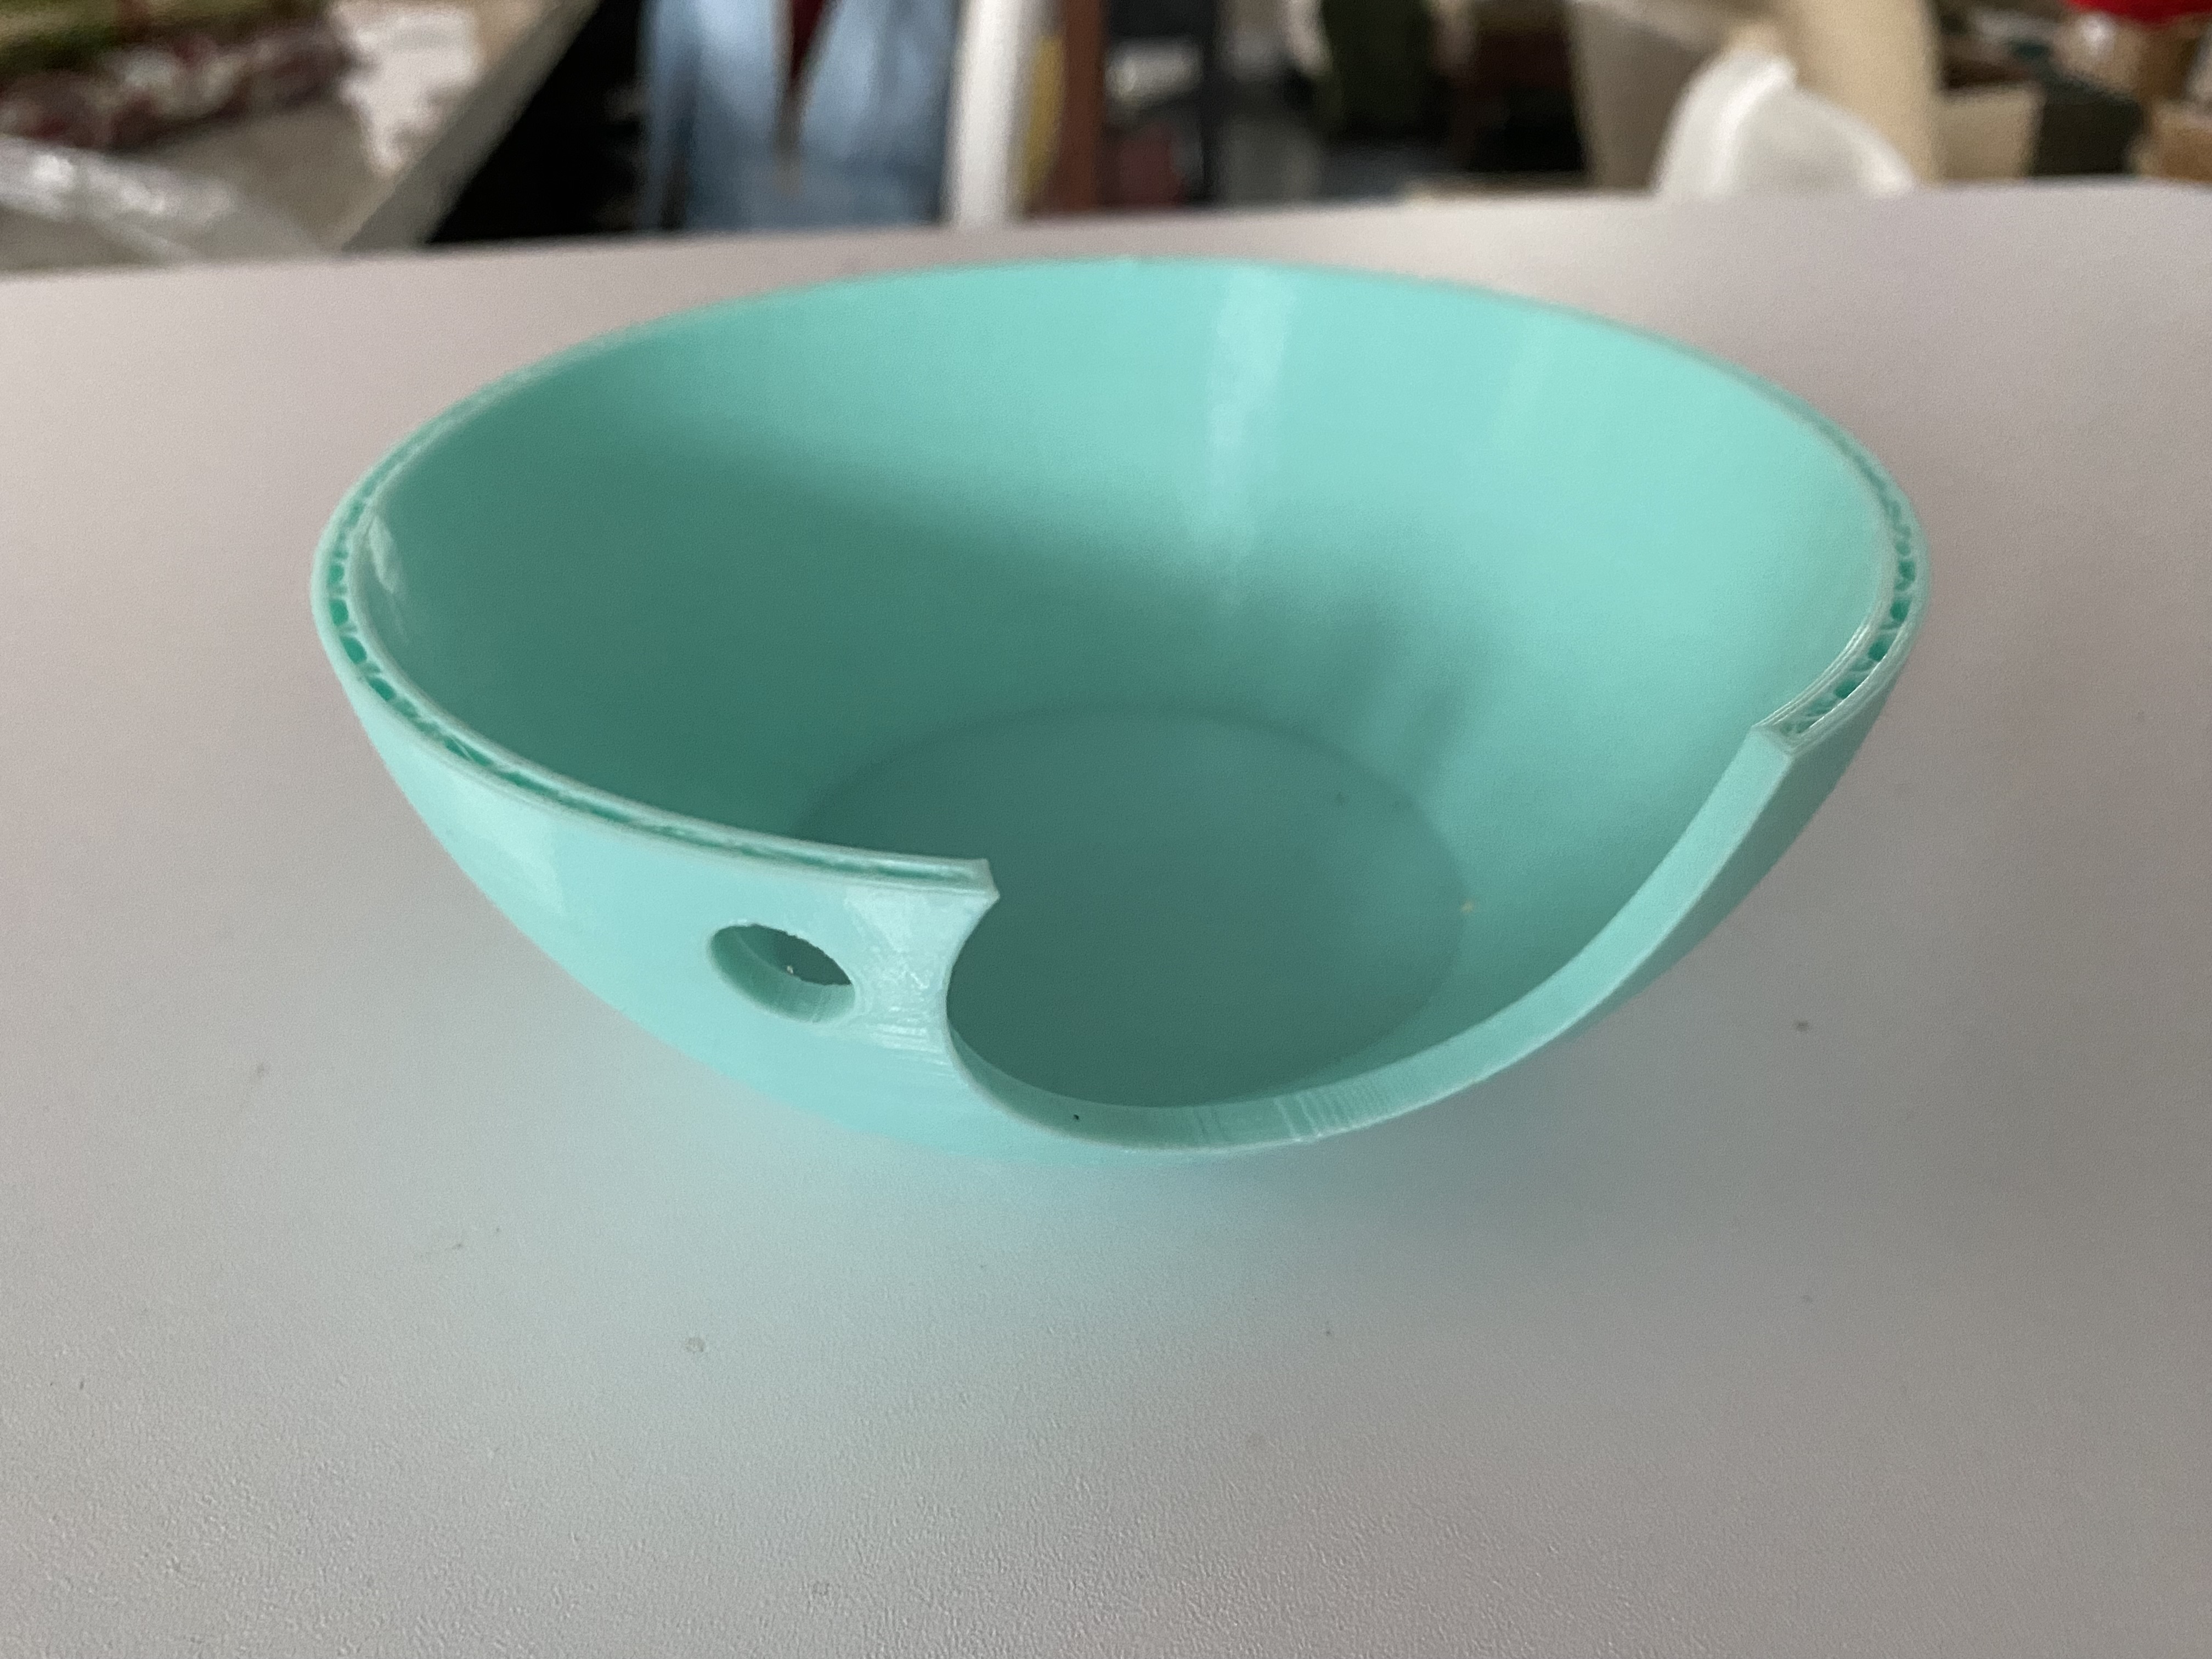
As you can see from the picture, after removing the support structures there are still some rough spots that I cleaned up with some sandpaper. I used a thin hex wrench to support a thin strip of sandpaper to clean up the edges. I wonder if a small wood file might be another way to go.
Summary
It looks like 3D printing is a continuous learning process. Due to the printing time, this is a slow process, but the printer works pretty reliably and doesn’t need any intervention as it chugs along. In the end the yarn bowl came out nicely, and I’m impressed that the 3D printer could print the spiral gap that feeds the yarn.
